
.png)
How to Prepare Your Pool for Summer
Summer is on its way in NZ, and there’s nothing better than enjoying a cool dip in your own backyard pool on a hot day. Whether you have an in-ground or above-ground pool, a little DIY maintenance now will get your pool ready for a summer of fun. This guide offers pool cleaning tips and DIY pool maintenance steps to help New Zealand homeowners prepare your pool for summer. We’ll cover everything from cleaning and balancing the water to checking equipment and setting up an easy maintenance routine – all in a friendly, easy-to-follow way. Let’s dive in!
🧹 Step 1: Clean and Clear Your Pool
The first step to a summer-ready pool is a thorough cleanup. Over winter, pools can collect leaves, dirt, and even algae. Here’s how to get it clean again:
- Remove Debris & Clean the Cover: Scoop out leaves, twigs, and dirt using a leaf net or skimmer. If you used a winter cover, pump off any standing water and debris before removing it. (Also tidy up around the pool – trim overgrown foliage to minimize new debris falling in)
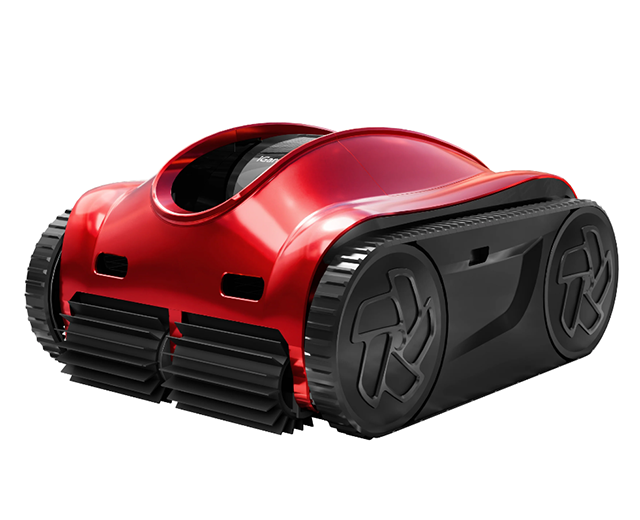
- Brush and Vacuum: Brush down the pool walls and floor to loosen any algae or dirt. Then vacuum the pool thoroughly to remove settled debris. For an easier time, consider using a pool vacuum cleaner – an automatic cleaner can make this job almost effortlessaquaclear.co.nzaquaclear.co.nz. (Tip: AquaClear offers a range of cordless robotic pool vacuum cleaners that can save you time and effort.)
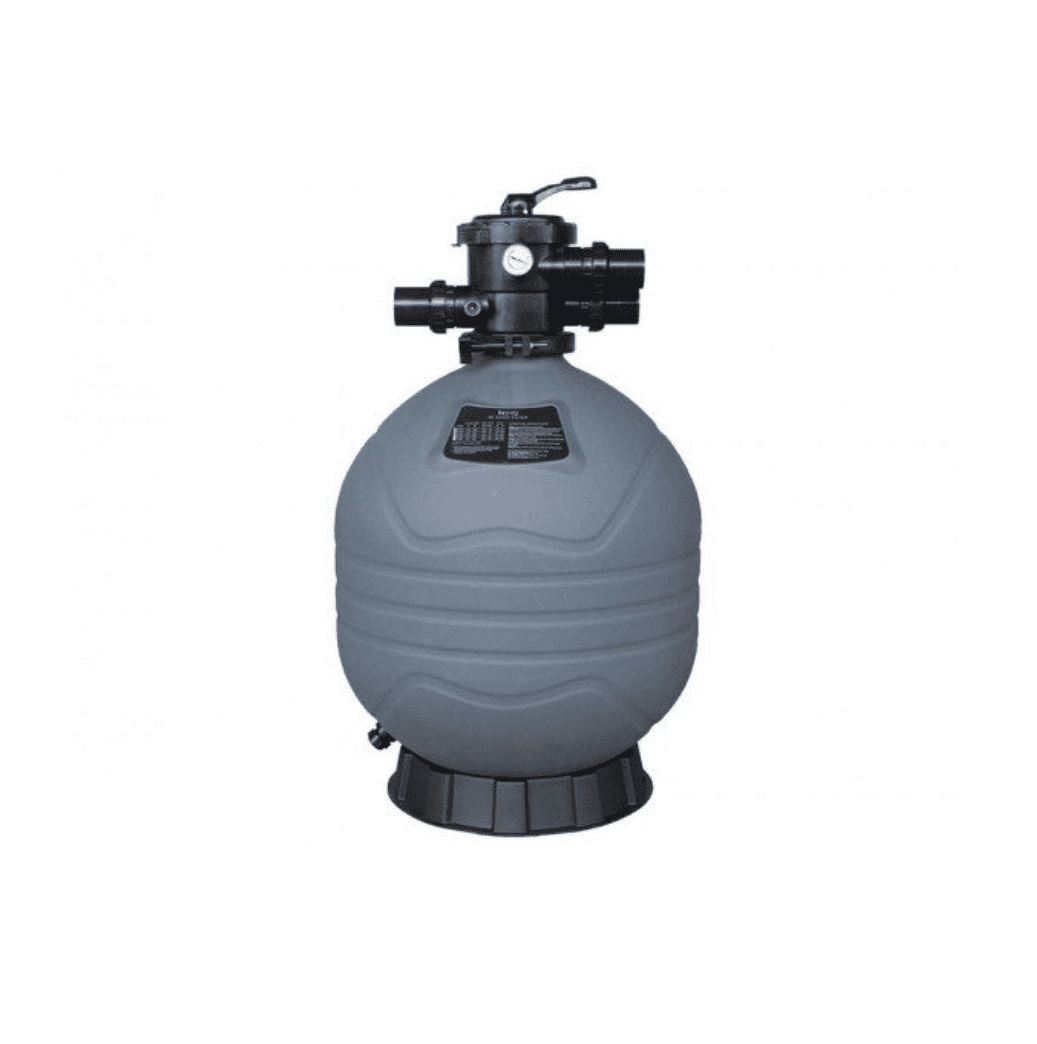
- Clean the Filter & Baskets: Clear out the skimmer basket and pump basket of any gunkpoolmasta.nz. Next, clean your filter to ensure strong water flow. Backwash a sand filter (or rinse a cartridge filter) to flush out dirt. If your filter cartridge is worn out, it might be wise to replace it with a new one from the pool filters range for best performance.
-
Top Up Water Level: Make sure the pool water level is where it should be – ideally about halfway up the skimmer opening. If
it’s low, grab the hose and top it upnarellanpools.co.nz.
(Rain over winter might have overfilled some pools; you can backwash a bit of water out during cleaning if needed. Aim to maintain the water
level around ¾ up the skimmer for optimal filtering)
Once the pool is physically clean and refilled, run the pump and filtration system continuously for at least several hours (or even 24 hours) to circulate and filter the water. This helps clear out any remaining fine debris. Pro Tip: If your pool was green or murky, now’s a good time to shock the pool by adding a heavy dose of chlorine. Shocking will kill algae and bacteria that built up over winter (For example, you can add a pool shock treatment or a high dose of liquid chlorine – check the product instructions for the correct amount.) After shocking, let the pump run to distribute the chlorine.
🧪 Step 2: Test and Balance Your Water
With the pool clean and the water circulated, the next step is to balance your water chemistry. Balanced water is not only safer and more pleasant to swim in, it also protects your pool equipment from corrosion or scale. Even if the water looks clear, you’ll want to test it – either using a home pool test kit or test strips. DIY tip: Grab a reliable pool water test kit (available at pool supply stores or pool chemicals suppliers) to check the following key parameters:
-
🌡️ pH: Aim for a pH of about 7.2 to 7.6 for most pools. This is slightly on the alkaline side of
neutral, which keeps swimmers comfortable and helps chlorine work effectively. If pH is too low (acidic), add a pH increaser
(soda ash). If it’s too high, add a pH reducer (dry acid) to bring it into range.
-
💧 Chlorine: Your chlorine level (or other sanitizer) should be 1–3 parts per million (ppm).
This ensures the water is hygienic by killing bacteria and algae. After shocking, chlorine might be temporarily higher – give it time to
drop into the 1–3 ppm range before swimming. If chlorine is low, add chlorine granules or liquid, or check your chlorinator if you have a
saltwater system.
-
🌈 Total Alkalinity: Keep alkalinity around 80–120 ppm. Alkalinity acts as a pH buffer, so it helps
prevent wild pH swings. If alkalinity is low, add sodium bicarbonate (baking soda) to raise it. If it’s high, you can use muriatic acid
to lower it gradually.
-
🪨 Calcium Hardness: For most pools, a calcium hardness around 150–250 ppm is ideal. Closer to the
lower end is fine for vinyl or fiberglass pools, whereas concrete (plaster) pools should be nearer the higher end to protect the surface.
If your calcium level is below the recommended range, add a calcium chloride product to increase it. If it’s too high, you may need to
dilute by adding some fresh water (high calcium can cause scaling on surfaces).
Balance the water by adding the necessary chemicals in small doses, one at a time. Always follow product instructions and wait a bit between additions. It’s usually best to get pH and alkalinity in line first, then adjust chlorine and calcium hardness. Don’t forget to check stabilizer (CYA) levels if you use stabilized chlorine – in outdoor pools, a bit of cyanuric acid helps chlorine last longer, but too much can reduce its effectiveness (30–50 ppm CYA is a typical target). Lo-Chlor Liquid Stabiliser is the perfect choice for a stabliser that wont cloud your pool water or take time to disolve.
After adjusting, run the pump for a few hours and then re-test the water to ensure everything is in the right range. When your pool’s water chemistry is balanced – crystal clear with the right pH and chlorine – you’re nearly ready to dive in! Pro Tip: Throughout the summer, test your water at least once a week (and after heavy pool use or rainstorms) to keep things balanced. It’s much easier to maintain good levels than to fix a neglected pool later.
⚙️ Step 3: Check Your Equipment and Pool Hardware
Now that the water is clean and balanced, take some time to inspect your pool equipment. The Kiwi summer season can put a
lot of demand on your pump, filter, and other components, so let’s ensure everything is running well before peak swimming
time:
- Pump & Filter: Turn on your pool pump and listen for any unusual noises. It should hum steadily. Check that the filter pressure is in a normal range and water is flowing strong through the return jets. If you have a sand filter, note the pressure gauge reading – a high PSI could mean it’s time to backwash. For cartridge filters, ensure the cartridge is clean (or replaced). Also verify there are no leaks or drips around the pump, filter tank, valves, or hosespoolmasta.nz. A white calcium crust on pump or pipe joints is a sign of a slow leak that should be fixed.
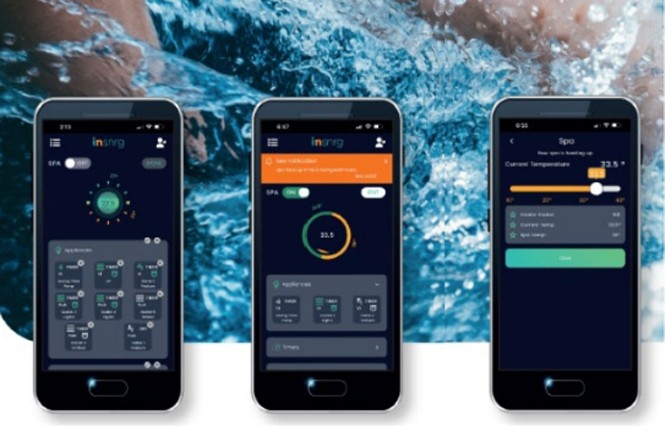
- Chlorinator or Sanitiser System: If you use a saltwater chlorinator, inspect the cell plates for any white scale buildup. A scaled-up salt cell will not produce chlorine effectively. Clean the cell if needed (follow your manufacturer’s instructions; this often involves soaking the cell in a mild acid solution to dissolve calcium). Also make sure the chlorinator control unit is working and the settings are correct for summer. You should see bubbles or “gassing” at the cell when it’s running, indicating chlorine is being generated. For traditional chlorine pools, check that your automatic chlorinator (tablet feeder) or dosing system is functioning and filled, or that you have a floater with tablets ready to go.
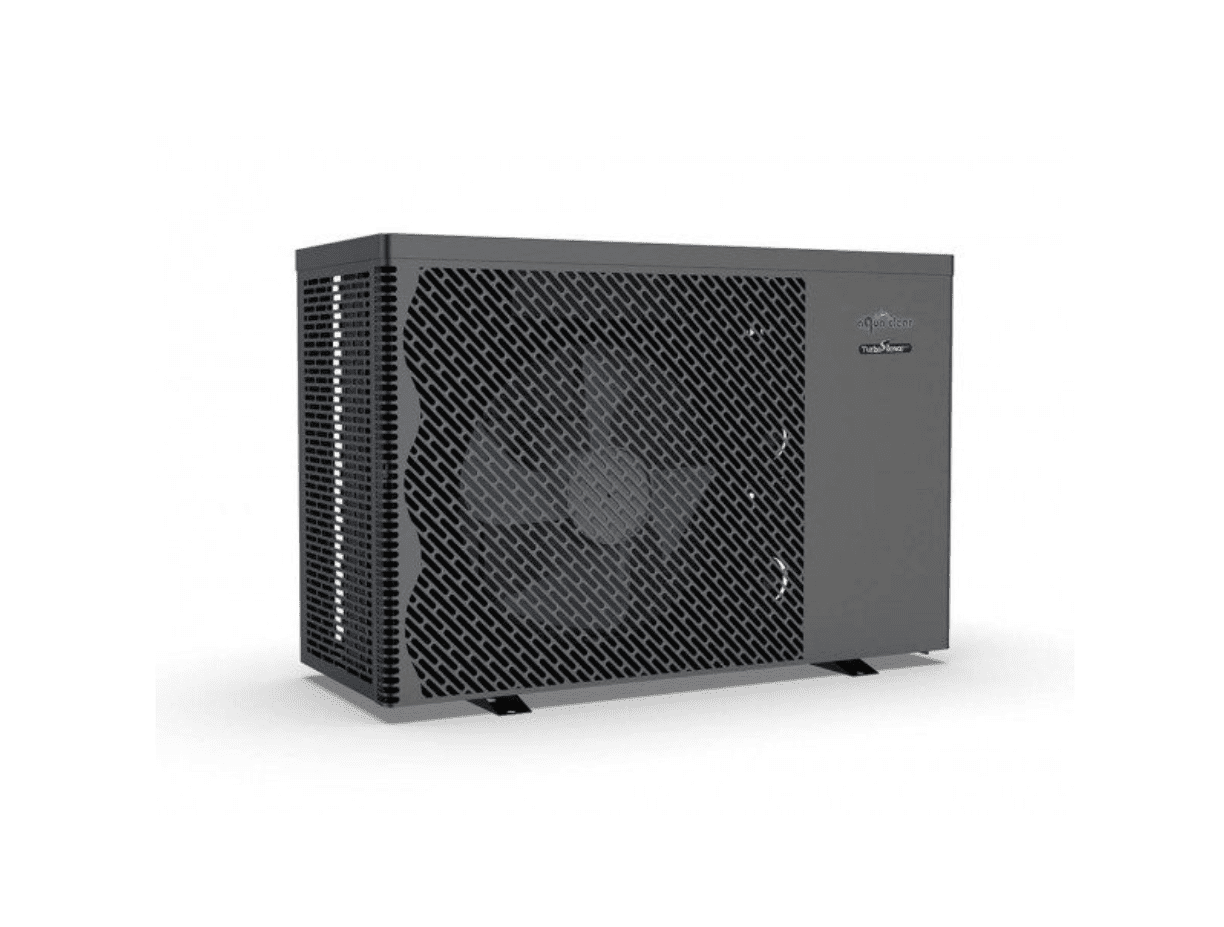
- Heater (if applicable): Do a quick test-run of your pool heater or heat pump. Turn it on for a short cycle to ensure it fires up and heats properly. Catching any heater issues now means you can get them serviced before you actually want to use the pool. Likewise, if you have solar heating, open the valves and make sure the system circulates without leaks.
- Ladder, Rails & Pool Accessories: For above-ground pools, you might have removed accessories for winter – now is the time to reinstall your ladder, steps, and any railings securely. Check that any bolts or attachments are tightened. Inspect the pool’s vinyl liner (if applicable) for any visible cuts or damage that might leak once the pool is full. For in-ground pools, ensure grab rails or diving boards are firm and inspect the pool surface for cracks or missing tiles.
- Safety Checks: It’s also wise to glance over your pool fence and gate to ensure they’re still in good shape and meet local safety regulations (in NZ, pool fences are required). Make sure self-closing gates latch properly to keep everyone safe.
- Cleaning Gear: Lastly, rinse off and stow your cleaning tools (leaf net, brushes, vacuum head). If you have a pool cover, hose it off and let it dry before folding and storing it. (Or if you plan to use a solar cover in spring to keep the heat in, ensure it’s clean and free of holes.) A quick wipe-down of pump and filter exteriors can also help you spot any developing issues (e.g. drips or rust).
Taking the time to check your equipment now means you’re less likely to face an unexpected breakdown in the middle of summer when pool technicians are busiest. If anything looks worn out or faulty – say, a dodgy O-ring on the pump lid or a cracked hose – replace it now. AquaClear carries a full range of pool equipment (pumps, filters, sanitising systems, etc.), and your local pool shop can also help source parts. A well-maintained system not only keeps your water clean, but also runs more efficiently, saving on energy and chemical costs in the long run.
📅 Step 4: Ongoing DIY Pool Maintenance Tips
Congratulations – your pool is now sparkling clean, balanced, and ready for summer! To keep it that way through the swim season, establish a simple maintenance routine. Consistency is key to preventing problems (like algae blooms or equipment strain). Here are some DIY pool maintenance tips for the summer months:
-
Skim, Vacuum & Brush Regularly: Aim to skim the surface with a net daily or every few days
to remove leaves and bugs before they sink. Vacuum the pool weekly (or run your automatic pool cleaner) to keep the floor
spotless. A quick brush of the walls once a week will also help prevent algae from gaining a foothold.
-
Check Water Levels: Keep an eye on the water level, especially during hot weather when evaporation is high. Never
let the water level fall below the skimmer,
or your pump could run dry and get damaged. Top up as needed (but be mindful of local water restrictions if any).
-
Test Water Weekly: Test your pool water at least once a week for pH and chlorine, and adjust as needed to
maintain that perfect balancepoolmasta.nz.
It’s easier to add a bit of acid or chlorine each week than to fix a cloudy, unbalanced pool later. Also, after heavy rain or a big pool
party, do an extra test – rain can dilute and alter water chemistry, and lots of swimmers can use up chlorine faster.
-
Chemical Maintenance: Along with chlorine, keep an eye on alkalinity and other levels periodically (maybe once a month for
alkalinity and calcium hardness). If using stabilized chlorine tablets, check cyanuric acid (stabilizer) mid-season to ensure it’s not too
high. Consider adding a dose of algaecide or clarifier occasionally if your pool is prone to algae or cloudiness. Remember:
Always store pool chemicals safely out of reach of children and in a cool, dry place.
-
Clean the Filter & Baskets: Empty the skimmer and pump baskets at least weekly, or more often if trees
are dropping lots of debrispoolmasta.nz.
A clogged basket can reduce circulation. Backwash sand
filters
about once a week or whenever the pressure rises ~8-10 PSI above normal. For cartridge filters, rinse them every few weeks (and deep
clean or replace as needed). Keeping the filter clean will ensure water stays clear and helps your equipment last longer.
-
Monitor Equipment: Listen for unusual sounds from the pump and look for drips when you do your weekly rounds. Catching
issues early can save bigger headaches later. For example, if you spot a bit of water under the pump or a tiny drip at a pipe fitting, fix
it before it becomes a flood.
-
Enjoy Your Pool!: The whole point of prep and maintenance is to enjoy swimming all summer. With a little
regular TLC, your pool will remain a safe, inviting oasis for you, your family, and friends. So fire up the BBQ, inflate those pool toys,
and have fun!
By following these steps, you’ve effectively DIY-ed your pool maintenance like a pro. Your pool should now be in great shape for the warmer months ahead – clean, properly balanced, and equipment running smoothly. 🌞🏊♂️ Happy swimming this summer!
Still have questions? Check out the FAQ section below for quick answers to common pool-prep queries.